
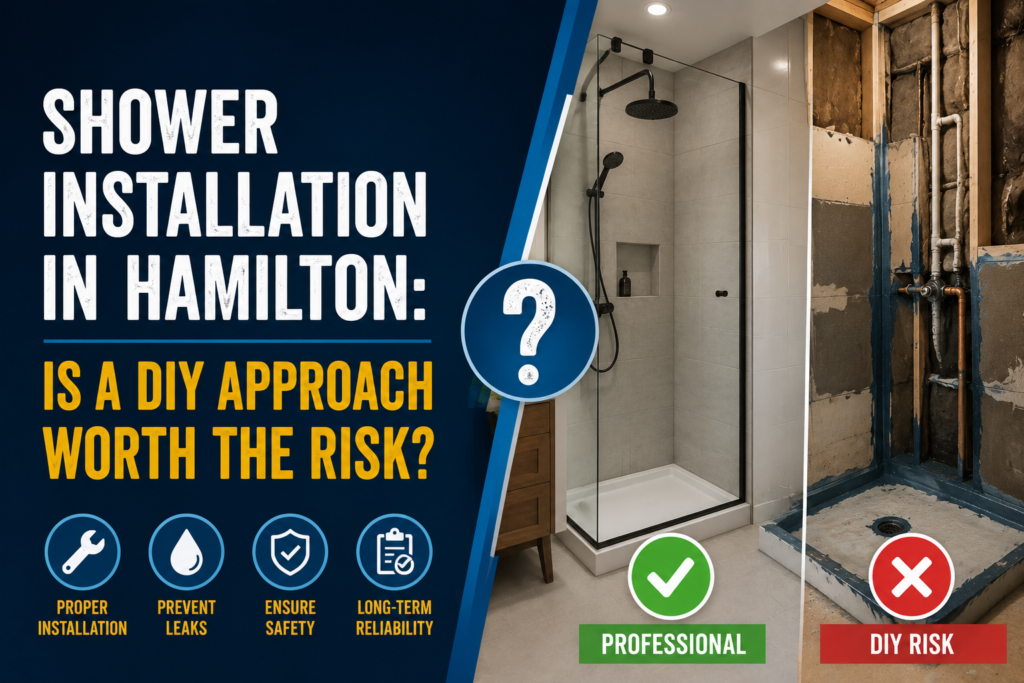
Shower installation and faucet work sit in a space where a lot of homeowners feel confident doing it themselves, until something goes wrong behind the wall. This blog covers what professional fixture installation involves, why the details matter more than they look like they should, and how getting it done right the first time avoids the much more expensive second visit.
Table of Contents
- What Goes Into a Shower Installation That Most People Don’t See?
- Why Is Faucet Installation More Than Just Swapping Hardware?
- What Are the Most Common Mistakes in DIY Fixture Work?
- What Does Home Plumbing Repair Service Cover After a Failed Installation?
- How Do Water Pressure and Flow Rate Affect Fixture Choice?
- What Should You Expect From a Professional Installation Visit?
- Getting Fixtures Done Right With The Hamilton Plumber
What Goes Into a Shower Installation That Most People Don’t See?
The visible part of a shower installation in Hamilton is the fixture, the trim, and the finished surround. What’s behind the wall is what determines whether the installation lasts five years or twenty-five. A proper shower installation involves verifying the supply line connections are correctly sized for the valve body, confirming the valve is set at the right depth relative to the finished wall surface, ensuring the drain assembly is properly sloped and sealed, and waterproofing the wall substrate before any tile or panel goes up.
In older Hamilton homes, the supply lines feeding the shower may be galvanised steel or older copper with compression fittings. A new valve body may require adapters or short section replacements to connect properly. A plumber who’s worked in the city’s older housing stock knows what to expect and comes prepared rather than making a second trip for parts.
Why Is Faucet Installation More Than Just Swapping Hardware?
Faucet installation in Hamilton involves more variables than the hardware store instructions suggest. The supply lines need to be the correct length and configuration for the specific faucet body. The shutoff valves under the sink need to be in working order, because a faucet installation that requires turning off the main shutoff because the branch valve is seized is a job that’s already more involved than expected.
Older homes often have basin taps connected to supply lines with compression fittings that are decades old. These don’t always reseal properly once disturbed. A plumber replacing a kitchen or bathroom faucet in an older Hamilton home routinely addresses the supply lines and valves as part of the same job rather than leaving them in place and hoping they hold.
What Are the Most Common Mistakes in DIY Fixture Work?
The most frequent issues that come up when a plumber is called after a DIY fixture attempt include:
- Valve bodies installed at the wrong depth, leaving trim plates that don’t sit flush against the finished wall
- Shower valves without proper anti-scald protection, which is required under the Ontario Building Code for all new installations
- Faucet connections over-tightened, cracking the fitting or the ceramic valve seat inside the faucet body
- Drain assemblies in showers installed without proper waterproofing at the connection point
- Shutoff valves that were forced closed and are now leaking at the packing nut
Each of these leads to a service call that costs more than the original professional installation would have.
What Does Home Plumbing Repair Service Cover After a Failed Installation?
Home plumbing repair service for fixture-related problems covers the diagnosis and correction of whatever went wrong, plus any secondary damage that resulted. A valve body at the wrong depth may require removing finished wall material to reposition it. A leaking drain connection in a shower may have soaked the subfloor below, which then needs to dry completely before the drain is resealed and the surround reinstalled.
These are real costs, and they’re avoidable. A professional installation takes longer and costs more upfront because the work is done correctly, in sequence, with the right materials and code compliance built in.
How Do Water Pressure and Flow Rate Affect Fixture Choice?
Hamilton’s municipal supply typically delivers water at 40 to 80 PSI at the meter, but actual pressure at a fixture depends on the pipe diameter, the length of the run, and how many fixtures are running simultaneously. A high-end rain shower head that requires 60 PSI and 2.5 GPM to function properly may underperform significantly if the supply to the bathroom is running at lower pressure due to pipe restrictions.
A plumber can measure actual supply pressure at the fixture location before recommending hardware, which prevents the frustrating situation of installing a beautiful fixture that doesn’t perform as expected because the supply conditions don’t support it.
What Should You Expect From a Professional Installation Visit?
A licensed plumber handling shower or faucet installation will assess the supply conditions, shut off the relevant branch valves, disconnect and remove the old fixture, check the condition of supply lines and valves, install the new fixture to the manufacturer’s specification and Building Code requirements, test for leaks under operating pressure, and confirm flow and temperature before leaving.
The visit typically takes one to three hours for a faucet installation and two to four hours for a shower valve replacement, depending on access and the condition of existing connections.
Getting Fixtures Done Right With The Hamilton Plumber
Whether you’re upgrading a bathroom fixture, replacing a shower valve that’s lost its temperature control, or installing a new kitchen faucet, the difference between a professional installation and a DIY attempt shows up over time. The Hamilton Plumber handles residential fixture work across Hamilton with the kind of attention to what’s behind the wall that makes the installation last. Reach out through the contact page and get your fixtures installed properly the first time.
Frequently Asked Questions
1. Do I need a permit for a shower installation in Hamilton?
Replacing a like-for-like shower valve generally does not require a permit. New bathroom additions or significant plumbing relocations may require one. A licensed plumber can advise based on the specific scope of work.
2. How long does a shower valve last before it needs replacement?
Quality shower valves typically last 15 to 20 years with normal use. Hard water in Hamilton accelerates wear on internal cartridges, so occasional cartridge replacement may be needed before a full valve replacement is warranted.
3. Can a faucet be installed on any sink, or do the specifications need to match?
Faucets need to match the number and spacing of holes in the sink deck. Single-hole faucets on three-hole sinks can work with an escutcheon plate, but the supply line configuration still needs to match. A plumber can confirm compatibility before purchase.
4. What happens if the shutoff valve under my sink doesn’t work properly?
Seized shutoff valves are common in older Hamilton homes. A plumber will replace the valve as part of the faucet installation, which requires turning off the main supply briefly. This is routine work and adds modest time to the visit.
5. Is it worth upgrading to a thermostatic shower valve?
Thermostatic valves maintain a set temperature regardless of supply fluctuations, which is practical in households where pressure changes when other fixtures run. They’re more expensive to install but provide consistent performance and better scald protection than standard pressure-balance valves.